Geofencing Tutorial
The geofencing service of the Service Account API enables fleet customers to define geographical boundaries and to assign their fleet vehicles to one or many zones. Once assigned, notification webhooks are delivered once the vehicle enters or exits a zone.
This tutorial walks you through the steps that are needed to set up geofencing for your fleet:
- Creating zones using the GeoJSON open format
- Creating a notification for a vehicle
- Receiving
enteredandexitedwebhook notifications - Fetching the latest detected events for a vehicle
On demand
Note that geofencing is currently only available upon request and individual setups.
Prerequisites
The geofencing functionality is offered on top of the core functionality of our platform. To replicate the next steps of this tutorial, make sure that you first have set up the following:
- A production application has been created and at least one vehicle has been cleared for data access according to the Fleet Clearance tutorial
- The production application has been configured with the
Vehicle Location: Get coordinatespermission. The geofencing service relies on the vehicle position data to compute events. - Webhooks have been set up and the application is subscribed to
fleet_geofence_notificationevents.
Availability
Geofencing is currently supported for all Stellantis brands, Ford, Mercedes-Benz, BMW and MINI.
Create a GeoJSON data structure
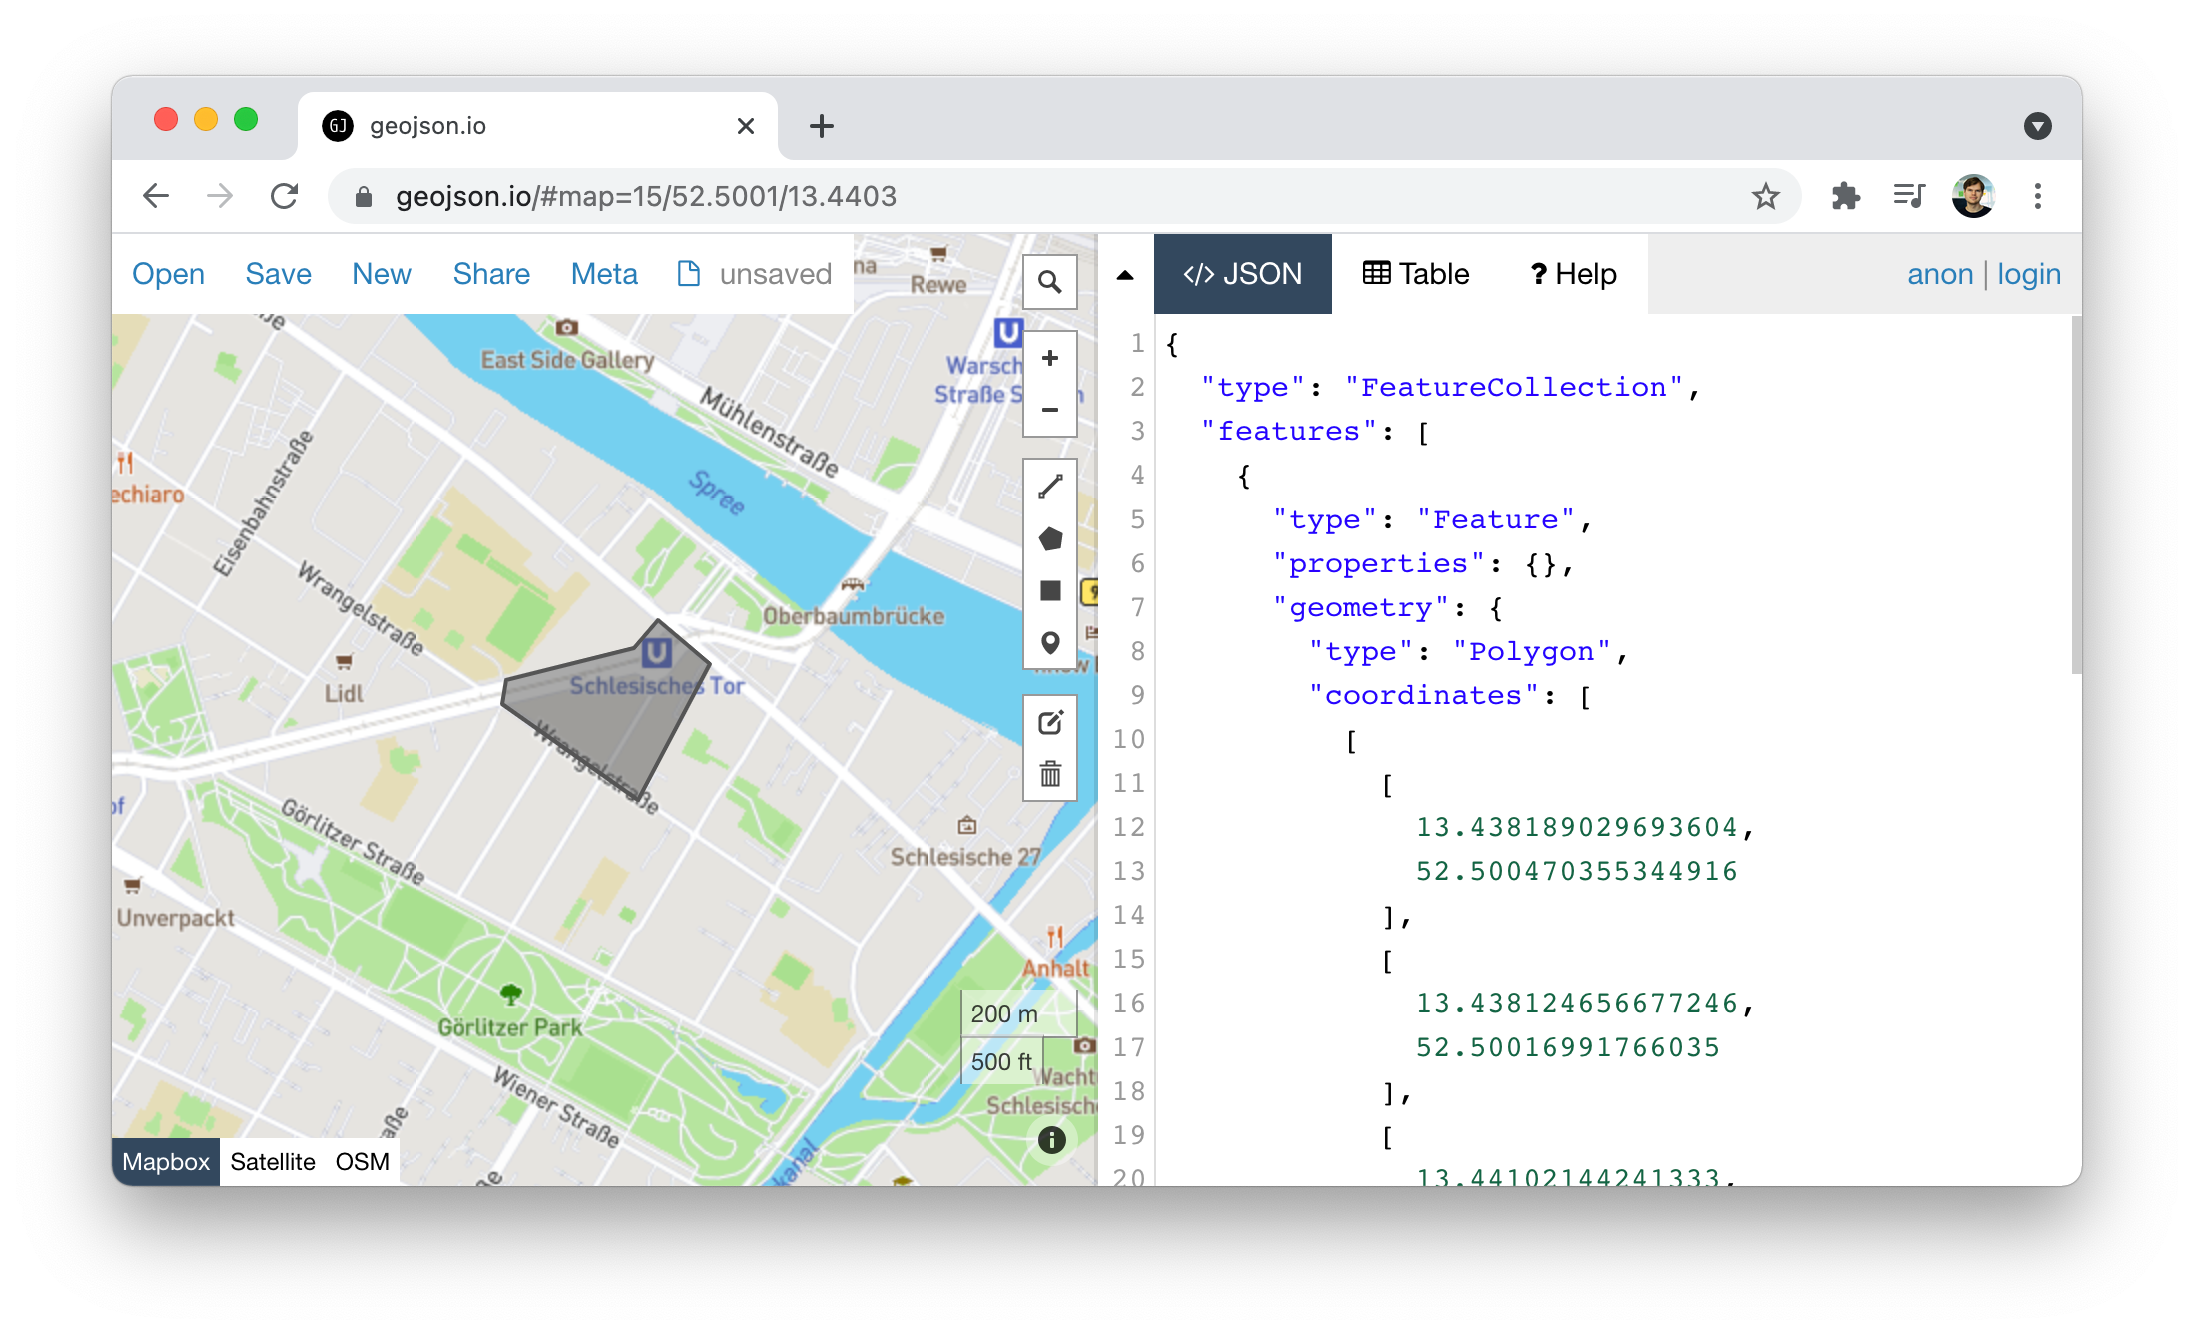
To create a zone, you will first need to create a valid GeoJSON structure. This can be done through openly available tooling such as geojson.io or Geoman. If you are looking for well known zones, such as country boundaries or city boundaries, there are existing GeoJSON projects available on GitHub.
Copy the JSON data to be used for the next step.
Here's an example of a simple polygon that has been drawn using geojson.io:
Create a Zone
The endpoint POST /fleets/geofencing/zones is used to create a zone for your production application. Apart from the GeoJSON data, you can also pass in a name for the zone, which makes it easy to identify in the future.
A specific zone only needs to be created once, as it can be applied to as many vehicles that you wish.
Reference
You can also fetch the existing zones by running
GET /fleets/geofencing/zones. Check out the Geofencing API for all available geofencing endpoints.
# change AUTH TOKEN, NAME and GEOJSON
curl --location --request POST 'https://api.high-mobility.com/v1/fleets/geofencing/zones' \
--header 'Content-Type: application/json' \
--header 'Authorization: Bearer <AUTH TOKEN>' \
--data-raw '{"name": "<NAME>", "geojson": <GEOJSON> }'
Create a Notification
Once a zone has been created, you can apply it to a vehicle that has previously been added for clearance. The vehicle has to be in a pending or approved state in order for the notification creation to succeed.
The triggers that are supported today are the entered and exited events. It is possible to assign one of these triggers to a notification, or both.
# Change AUTH TOKEN, ZONE ID and VIN
curl --location --request POST 'https://api.high-mobility.com/v1/fleets/geofencing/notifications' \
--header 'Content-Type: application/json' \
--header 'Authorization: Bearer <AUTH TOKEN>' \
--data-raw '{
    "zone_id": "<ZONE ID>",
    "vin": "<VIN>",
    "triggers": ["entered", "exited"]
}'
Receive Entered/Exited events
Now you will receive a fleet_geofence_notification webhook delivered every time the vehicle enters or exits the zone. The trigger is passed along in the webhook with the action key.
It's also possible to retrieve the last 5 events for a vehicle together with timestamps using the GET /fleets/geofencing/events/{vin} endpoint.
Check out the Open API Specification to see the references of all geofencing endpoints. This includes the possibility to inspect and delete any available notfications and zones.
Here's an example webhook delivery for an exited event:
{
    "vehicle": {
        "vin": "1HMCF6112HA3FBBCC",
        "serial_number": "BB5EAC44D33F205A87"
    },
    "event": {
        "type": "fleet_geofence_notification",
        "received_at": "2019-02-20T09:13:33.563772Z",
        "action": "exited"
    },
    "application": {
        "id": "A77294AC8DA324FB46DA98921"
    }
}