Getting started with AWS S3
With the AWS S3 integration it's possible for you to get vehicle data updates pushed directly to your AWS S3 buckets. This tutorial will help you get started step by step.
MQTT Streaming
Apart from AWS S3 push data, we also offer data streaming through MQTT. Have a look at the MQTT Guide for further details.
Introduction to AWS S3
AWS S3 is a versatile object storage service offered by Amazon Web Services. It's possible for you to manage data buckets in your own AWS account and then configuring your data applications in our console to push data to your buckets. Using this method for data delivery works for many use-cases:
- When you want to collect data from your fleet evaluation purposes without any technical effort.
- When you are using Big Data platforms that have existing plugins for AWS S3, buckets can serve as excellent middle steps in your data pipeline.
- If you are scaling your data usage to very large fleets, S3 can keep up with large volumes of push data at a low computing cost.
- When slight latency in the data delivery is not an issue. Efficiency is more important than real-time updates.
- Continue to work with data payloads based on the Auto API JSON schema.
Supported Manufacturers
We're constantly adding streaming delivery for the vehicle manufacturers that we support. For each brand, you will find a designation if push data is available in our Data Catalogue.
File and object structure
All messages that are published are divided into different topics. By looking at the topic structure you can determine the type of data that is being sent and for which vehicle.
s3_uri: s3://<bucket-name>/<app-id>/<auto-api-version>/<year>/<month>/<day>/<time>-<hash>.json

breakdown:
  bucket_name: The name of the bucket that you created
  app_id: Your unique App ID e.g. 9FBBEDED80595912588FF4FF
  auto_api_level: level13 # latest version of the Auto API
  year: The year when the JSON file was created
  month: The month when the JSON file was created
  day: The day when the JSON file was created
  time: The specific time when the JSON file was created
  hash: A hash to make the file name unique
Here is the JSON format that is used for every file that is stored. As each file contains many data updates coming from different vehicles, all messages are encapsulated in a JSON-array.
[
  {
     "message_id": {Unique Message ID: string},
     "version": 1,
     "vin": {Vehicle Identification Number: string},
     "capability": {Auto API Capability: string},
     "property": {Auto API Property: string},
     "data": {Auto API Schema: object}
  }
]
To deliver the data, we are using a native batching mechanism that is provided by AWS. This means that each file has a maximum of 1'000 messages and contains push messages from the last 5 minutes. If the maximum amount of messages is reached before 5 minutes, the file is simply stored and the next file is created right away. You can expect to receive many files in your buckets, however considering the nature of working with buckets and objects in AWS this is not an issue when processing the data for further use.
Data payload
All
dataobjects, that hold the specific car data payload, are formatted according to the Auto API JSON schema. A detailed breakdown of each property is found in our API References.
Here's an example of the JSON that would be sent for odometer data:
File name: s3://<bucket-name>/<app-id>/level13/2022/11/18/14-11-23-699000000-c0d010d5.json
[
   {
      "data":{
         "diagnostics":{
            "odometer":{
               "data":{
                  "unit":"kilometers",
                  "value":900
               },
               "timestamp":"2023-04-28T09:32:11.804Z"
            }
         }
      },
      "capability":"diagnostics",
      "property":"odometer",
      "message_id":"71D4D71C5EE64E3C4592EE88FEE73CFAFED75C51BD7250DD66F8518121222A20",
      "version":1,
      "vin":"VFXXXXXXXXXXXXXXX"
   }
]
Create an S3 Bucket
The first thing you will need to do is to create an S3 bucket in your AWS account. If you have no AWS account, you can sign up here. Once logged in, follow these steps:
- Choose "Amazon S3" to open the specific service page
- Click the "Create bucket" button
- Fill in a name of your bucket, which needs to be globally unique at AWS
- Select "EU (Ireland) eu-west-1" as the AWS Region
- All other options on the bucket creation page can remain as already selected by default. Make sure that "Block all public access" is checked as you want to keep your bucket secure.
- Click "Create bucket" to finalise the creation
AWS Region
Note that data can currently only be delivered to buckets in the
eu-west-1region.
Once you have created your bucket, you will need to update it's permissions policy to allow us to push data to it:
- In the bucket details page, click on the "Permissions" tab
- Scroll down to the "Bucket policy" and click edit and enter the following JSON. Just mind that you need to replace the
<BUCKET_NAME>placeholders with the name of the bucket that you just created. The<PRINCIPAL>placeholder is set according to if you are configuring a sandbox application or live data application.
Sandbox principal: arn:aws:iam::238742147684:role/service-role/production-sandbox-kafka-s3-sink-01-role-kzzbjkvy
Live data principal: arn:aws:iam::238742147684:role/service-role/production-live-kafka-s3-sink-01-role-zytmbiq9
{
    "Version": "2012-10-17",
    "Statement": [
        {
            "Effect": "Allow",
            "Principal": {
                "AWS": "<PRINCIPAL>"
            },
            "Action": [
                "s3:PutObjectAcl",
                "s3:PutObject",
                "s3:ListBucket",
                "s3:GetObjectAcl",
                "s3:GetObject",
                "s3:DeleteObject"
            ],
            "Resource": [
                "arn:aws:s3:::<BUCKET_NAME>/*",
                "arn:aws:s3:::<BUCKET_NAME>"
            ]
        }
    ]
}
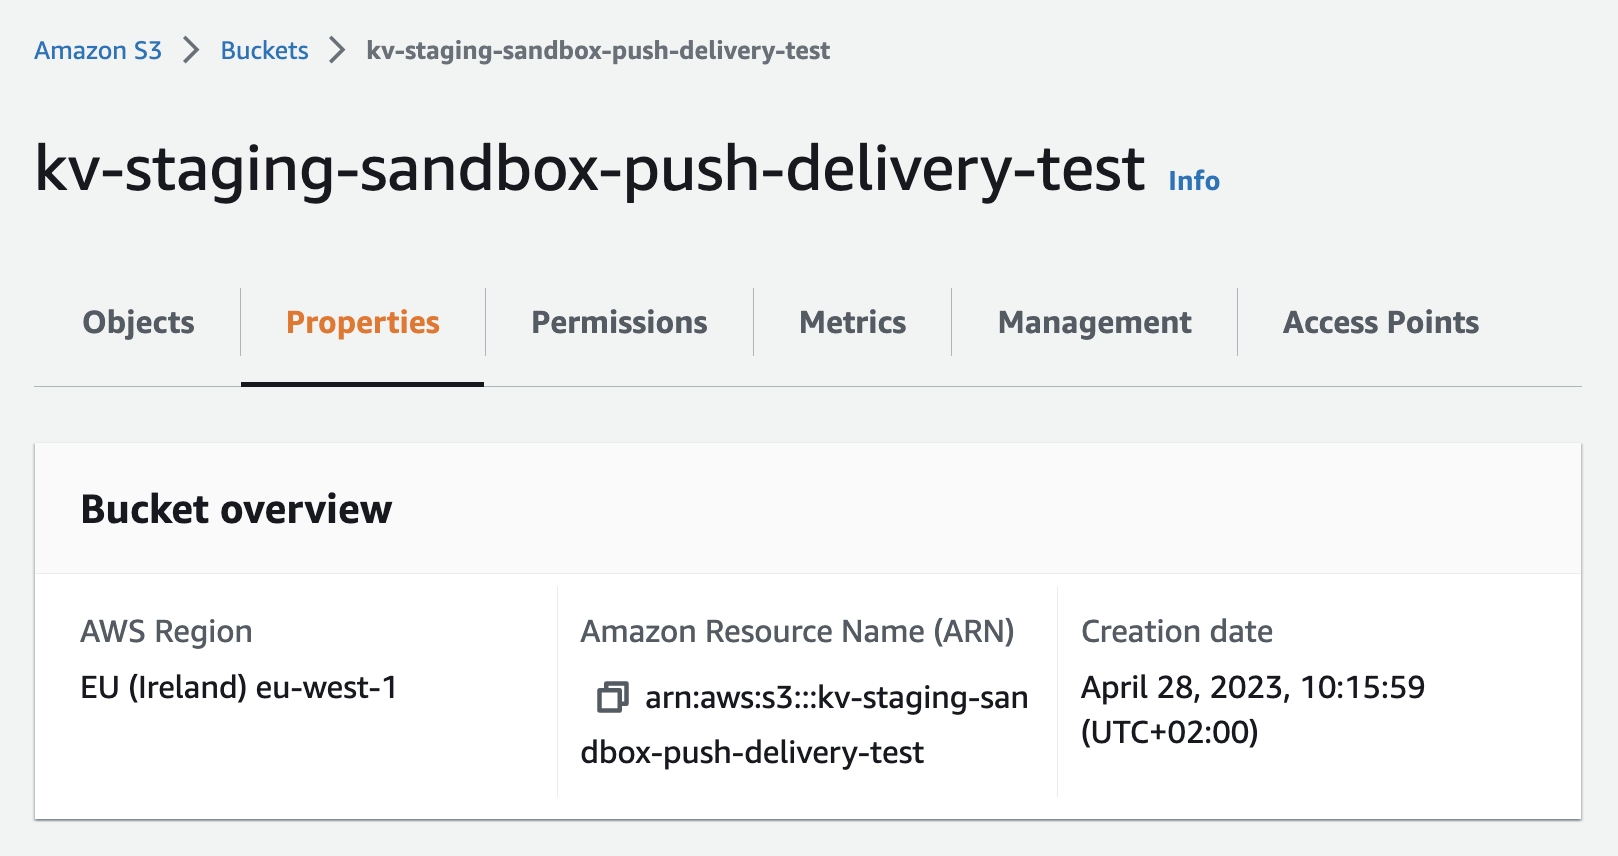
Example of a created S3 bucket:

Create a Cloud App
Sandbox UI
While it's possible to use AWS S3 bucket delivery both in sandbox and for live data, the below steps to configure an application is currently possible in our sandbox. Once you have created your bucket for live data consumption, please get in touch with us and we'll make the final configuration for you.
In the "Develop mode" tab you will find your apps for retrieving data from our simulators. In the app details page you are going to set the permissions it requires and manage its credentials. Let's see how to create a new app.
- Click the big plus (+) button, select "Fleet" or "Driver" as the type and then select Cloud App.
- Select the permissions that your app needs by clicking the "Select Permissions" button. Select the data points that you want to consume and hit "Save".
Configure Cloud App
Now the only thing left to do is to configure your app to push data to your S3 bucket. Back in the High Mobility console:
- Select the app you created in the previous steps.
- Choose "Data Streaming" in the left menu section.
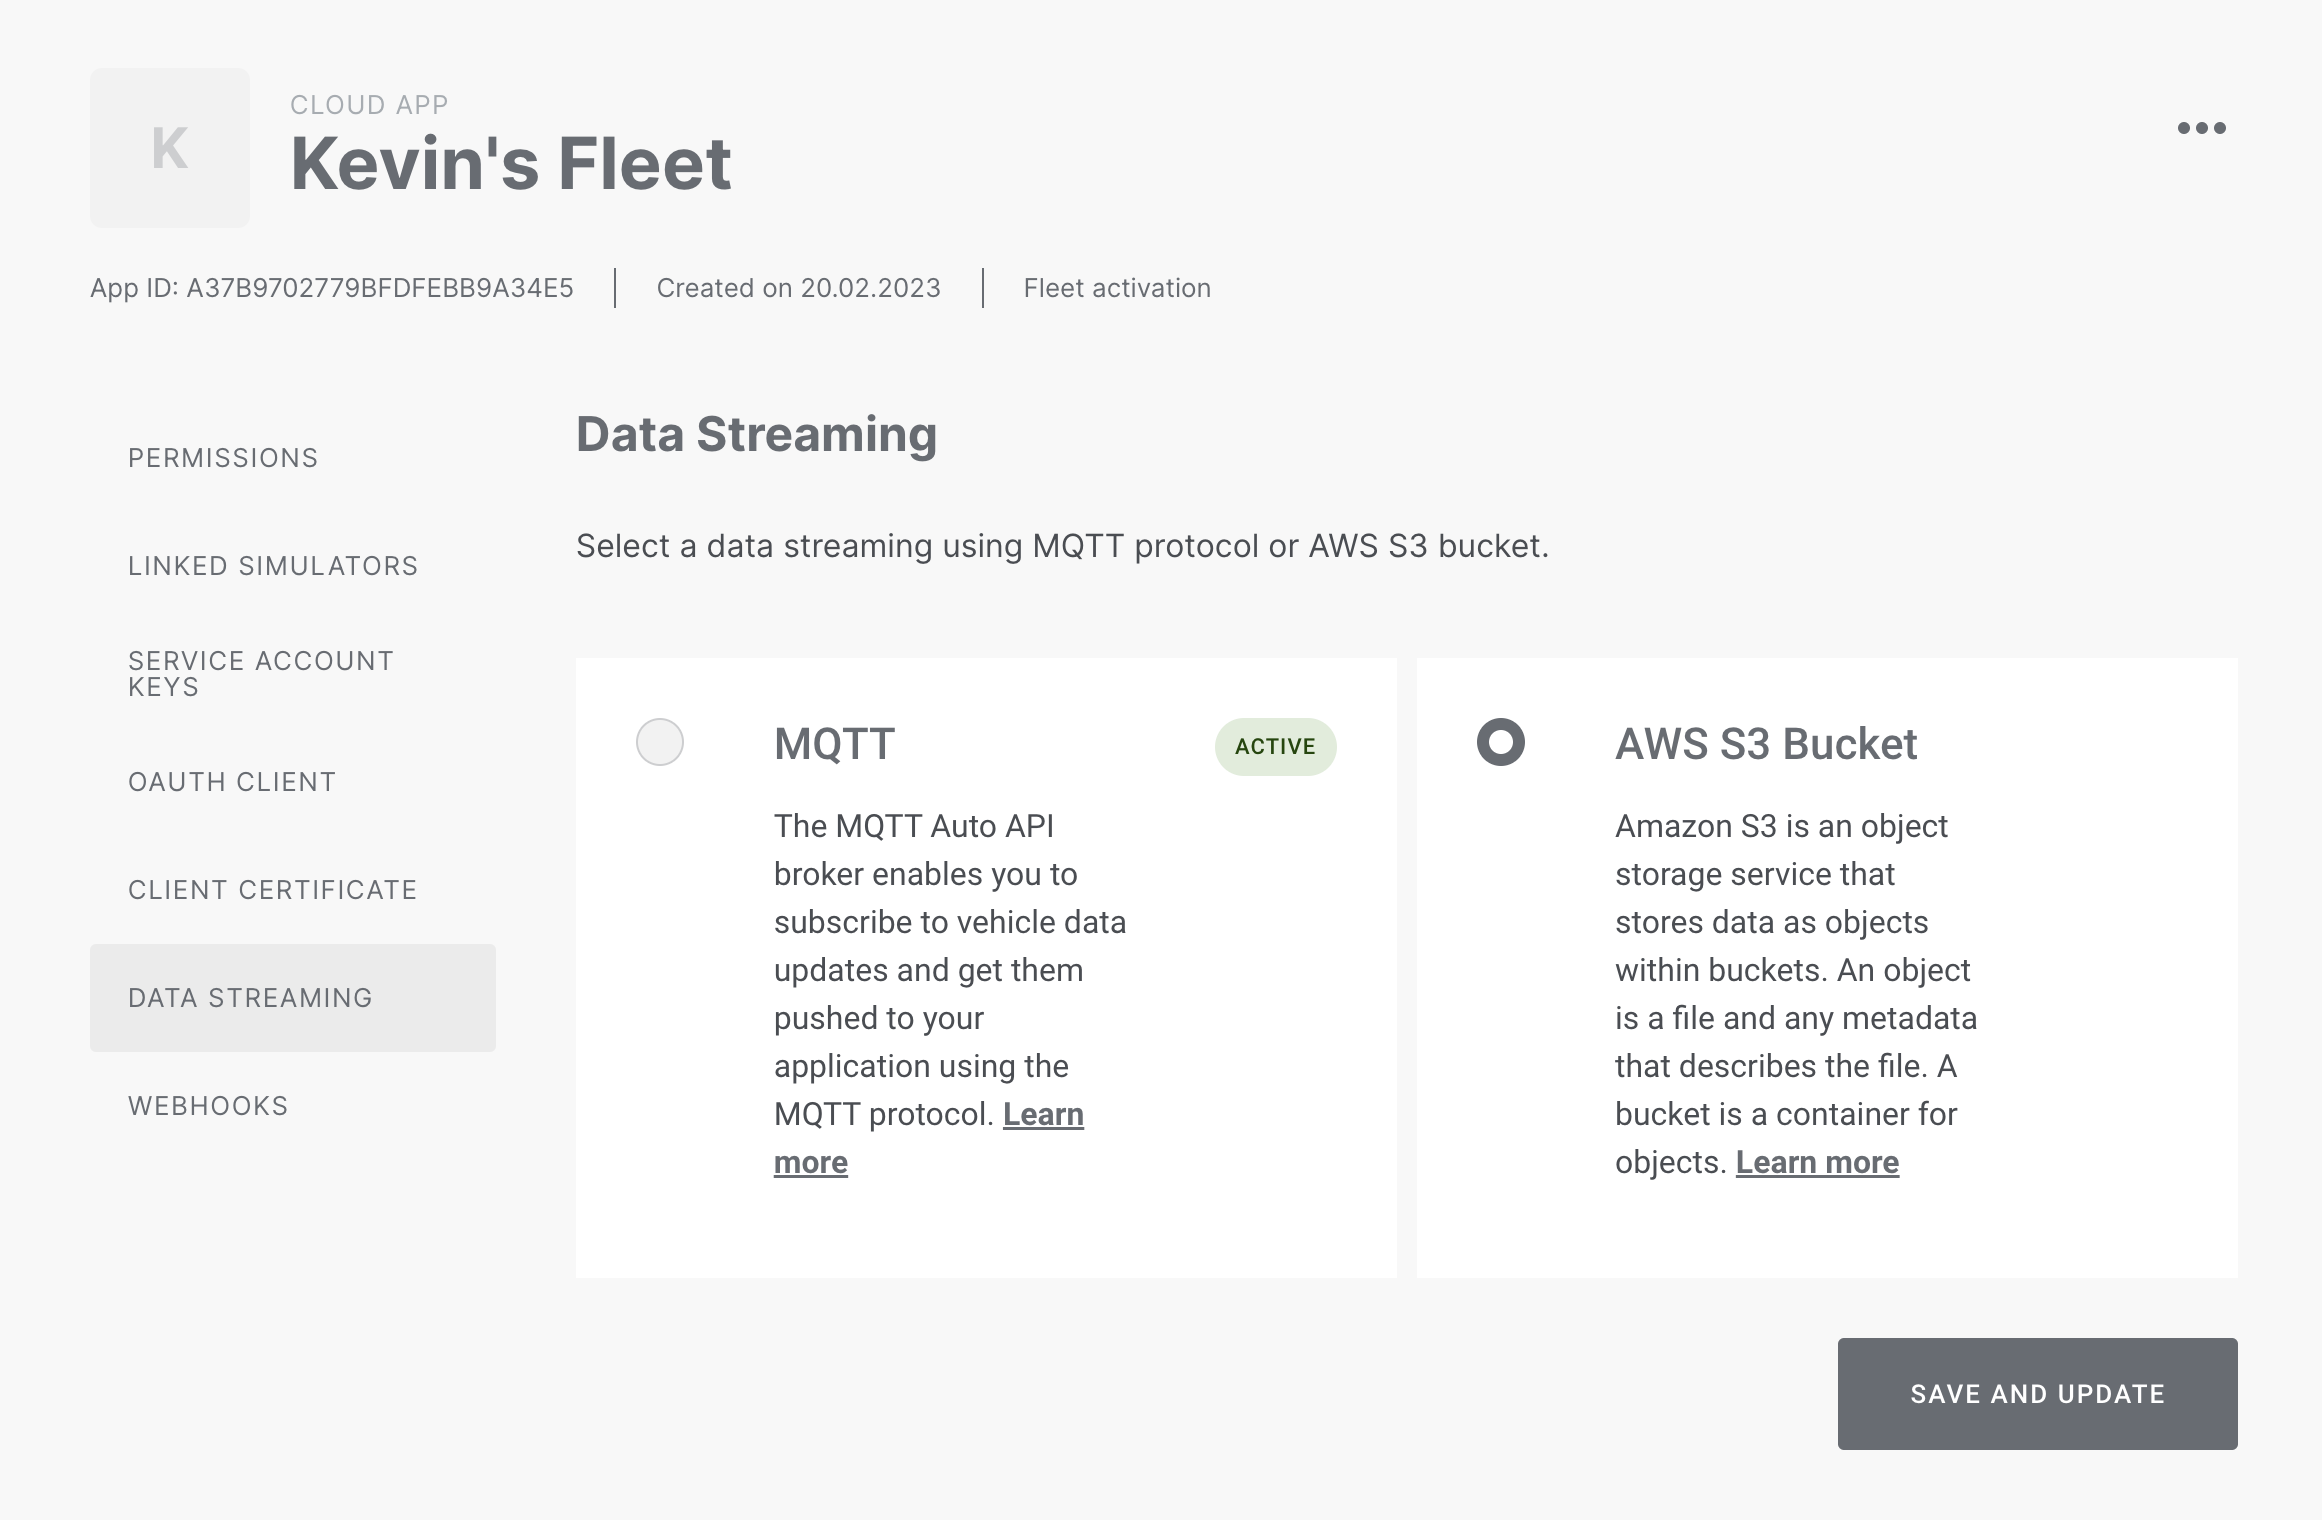
- Choose "AWS S3 Bucket" as your choice of push data delivery. MQTT is selected by default.
- Click "Save and Update"
- Enter the name of the S3 bucket you created in AWS and hit "Save". As all bucket names are globally unique in AWS, you just need to enter the name and not any ARN or URI.
Delivery Method
Note that you can only have one specific streaming data delivery method, MQTT or AWS S3, active at any point of time.
Once you have saved we will verify that the connection is working by storing a test file in your bucket. Only if the test push succeeds will the S3 configuration be saved. Feel free to delete the test file after the verification.
Selecting S3 as the delivery option:

Receiving data
You will now get any new data being generated by your vehicles pushed to your bucket. If you are working in the sandbox environment, you can easily try it out in the simulator by changing a few data properties. Just make sure your application has the permission to receive the specific data.
HEADS UP
As the S3 batch operations are running 5 minutes each, expect the first data to come in five minutes after a push message has been published for your application.
You will now get vehicle data delivered to you for all vehicles that have approved access grants. To receive an access grant, have a look at the OAuth2 Consent Flow or the Fleet Clearance guide depending on your specific application.